Friday, March 30, 2012

Beginning Crochet Amigurumi


Today I picked up a new hobby. Every time I pick up a new hobby, I add another section of the craft store to my domain. This week I will conquer.... the yarn! I'm learning to crochet. Actually I'm learning amigurumi. I feel like I'm cheating, I only needed to really learn one stitch, and I can create such adorable little animals. Compared to my scrapbooking stuff, this craft has very minimal investment to get started. A crochet needle, a roll of yarn, and Internet access for instructional videos. These video's got me started: slip knot, chain stitch, single crochet stitch, increase and decrease,

This ideal sphere is the pattern I used to get started. Somewhere along the way I decided to turn the ball into an alien so I used increase stitches to make the body wider and decrease stitches to make the body thinner up to the neck. Then more increase stitches to form a head, and decrease stitches to end the head. I figured an alien would be great because limbs are optional and if I messed up and it looked weird, I just add eyes and I mouth and it can still be an alien. I haven't decided if my next feat will be changing colors or adding limbs.

My first creation was done with a 5mm needle, but I switched to a  3.74mm needle for the second alien. My stitches are still inconsistent and the smaller gauge needle will keep my stitches tighter so you can't see the stuffing though the yarn. Here they are:


This craft is a great chance to use bells. Stuff one in each creation along with stuffing. A pack of clearence Christmas bells are great for homemade dog toys too!

Monday, March 26, 2012

DIY Changing Pad Cover

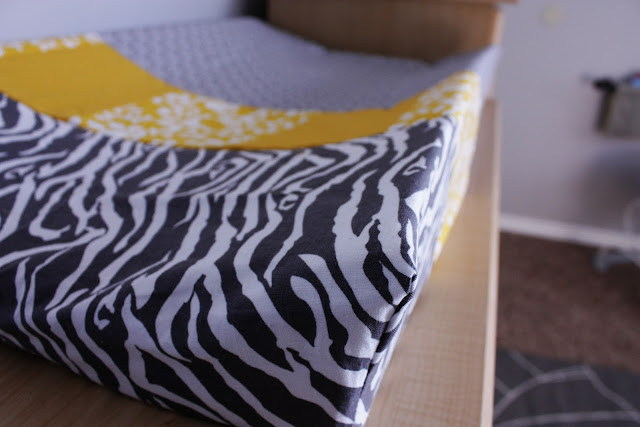
So excited to get more sewing experience. I finally got up the courage to try a changing pad cover. There are wonderful tutorials all over the place, and this would have been even easier if I had chosen some stretchy material... all simple straight lines to sew. I wanted to use the remnants of yellow and gray cotton that I've been using through-out the baby room, so I needed to do a little structured sewing too.


From this angle you can see the four different fabrics I used.

My first time ever trying something structured. I placed my cover inside-out on the pad and pined the corners where I should sew. I'm terrible with following a pattern, but this common sense pin-and-sew is working out pretty well :)


Great Tutorials:

from: The Cozy Pumpkin


also from: The Cozy Pumpkin

from: TasteFULL


Not tutorials, but great inspiration:

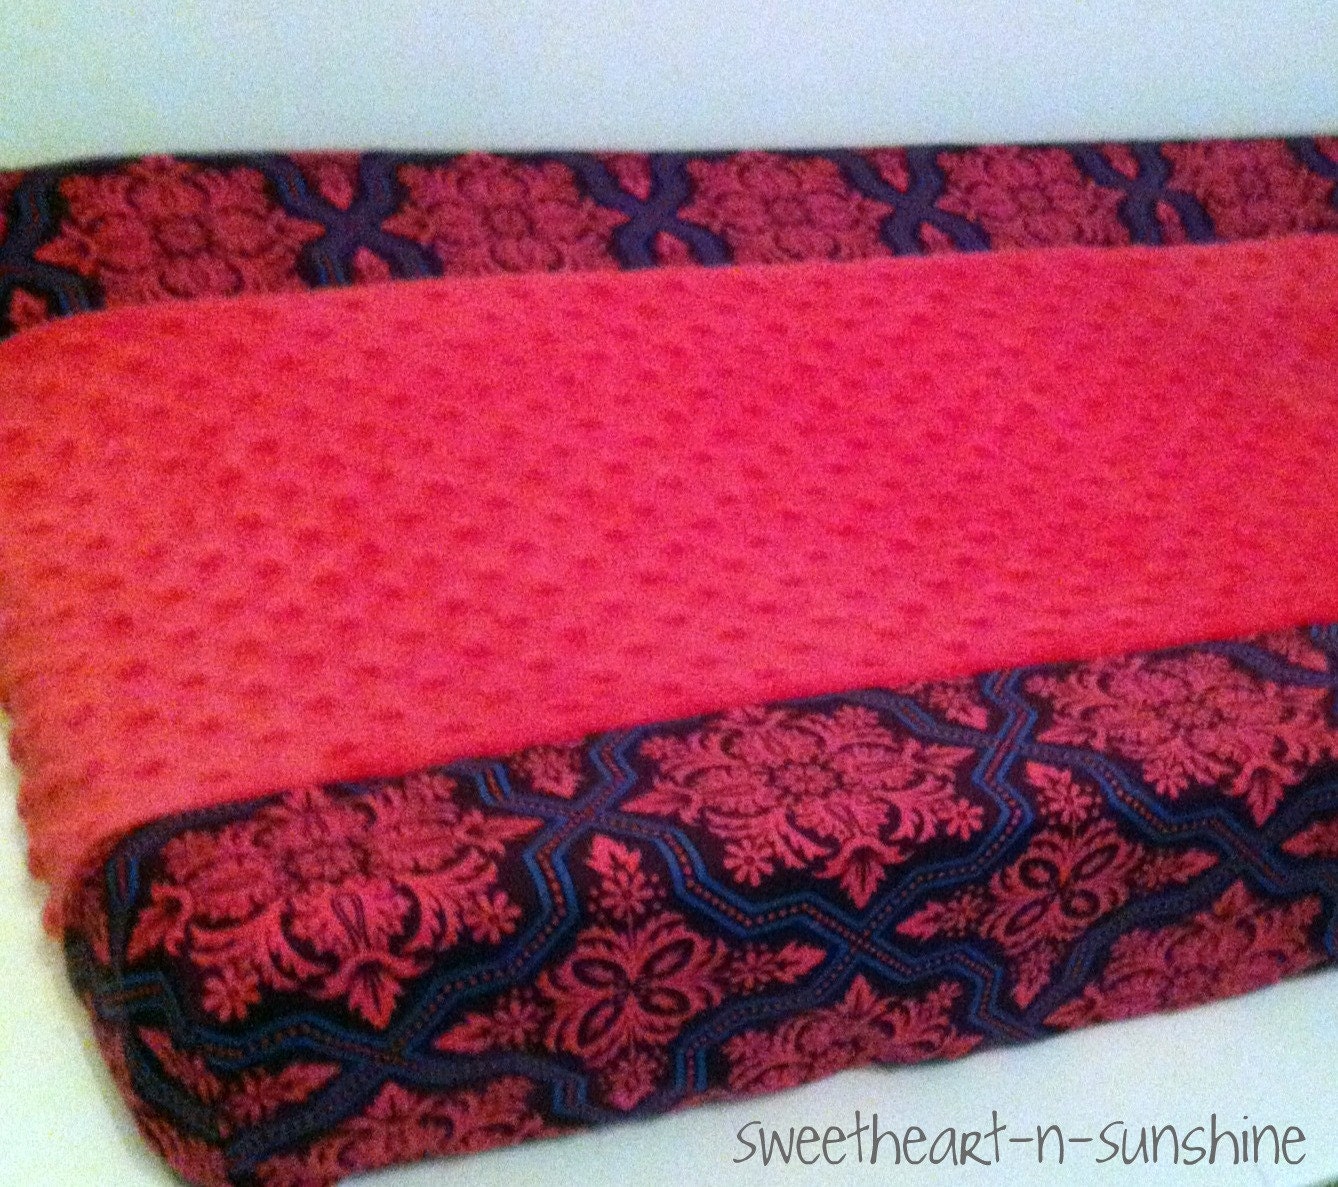
CUSTOM Two-toned Contoured Changing Pad Cover in YOUR CHOICE of designer cotton and minky dot fabrics
from: sweetheart-n-sunshine

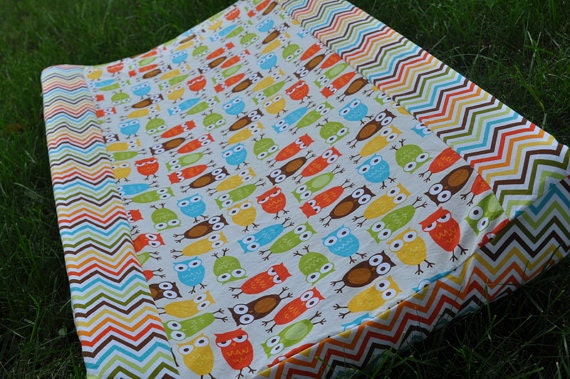
Custom Change Pad Cover in Your Choice(s) of Fabric
from: Dezignz By Liz

from: PettiBear's Fashion Roar


Monday, March 19, 2012

DIY Drawstring Picnic Blanket


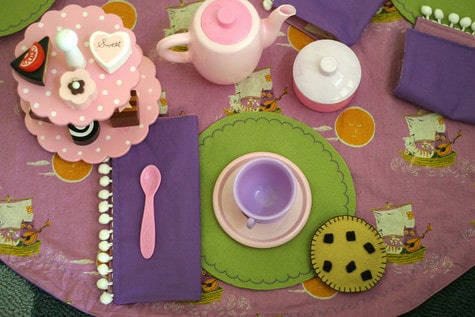
For my nanny child's 4th birthday I put together this picnic blanket. Somewhere online I saw a circle picnic blanket that could be turned into a bag with a drawstring. For the life of me I cannot find it again, but if I do, I'll put the link up here. The circle blanket was made with 2 fabrics, 1 yard each. After a fabric was trimmed to make the circle, the scraps were used to make napkins. I bought 2 yards of each fabric. Walmart frequently has fabric on clearance for $1.50 a yard, so materials for the blanket and napkins cost me $6. I chose to make a square rather than a circle because straight lines are easier to sew than curves... go figure. I had some scrap pink fabric which I used to make napkin holders and a small drawstring bag to hold the cake and cutlery set. All plates, candles, cutlery, and cake came in a set from target for $15.


 Picnic blanket closed with everything inside

Picnic blanket open

Use 2 fabrics to make it durable and reversible!
 
Update!: Thank you Pinterest! I just found the drawstring blanket/ tablecloth that made me decide to make this one. Pictures, tutorial and all can be found here thanks to Prudent Baby

Friday, March 16, 2012

Learning Letters- Toddler Scavenger Hunt

Cold day activity: Rosalie (age 2 1/2) wore this simple necklace as we walked through King Soopers. Armed with a pen, (because we forgot her favorite marker at home) she crossed out the letter when she found it on a product. Rosalie was so proud of herself when she had crossed off all 16 letters. We finished our adventure with a free kids cookie, and a banana that Rosalie got to pick all by herself.
Note for next time: Be sure to make the necklace extra long because it will get tangled and progressively shorter as she flips through the cards.

Update: We did this again for the zoo. Instead of hand written letters, we had printed pictures of animals. Every time Rosalie found the animal on the card, she named the letter that would go with it before she crossed it off.

This post is about a year old, created for a blog I no longer update. Can't wait until I get to use this idea with my Fisher.

Monday, March 12, 2012

Grey and Yellow Little Man Baby Shower


In my adventures in blogging, I am learning how to make collages to get the whole picture of an event. Here are some of the details from my Little Man baby shower. So much fun, and so many blessings from friends and family.
Aren't mustaches fun?

Monday, March 5, 2012

Drinking from Mason Jars


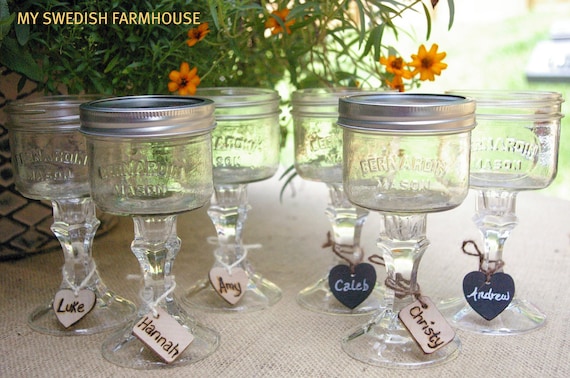
Mason jars have been my new obsession. I love the old-fashioned feeling I get from drinking from a glass jar! I found a few boxes of 12 jars for $5.00 each at Walmart, a box of 144 Kikkerland paper straws on Amazon for $7.00, and a box of 100 paper tags at Office Depot for $4.00. The tags, used as name tags here, happened to have string already attached at exactly the right size to slip over the jar. Ribbon would have been adorable but dear Lord it saved a lot of time not having to hand tie all of those labels to the jars. Serve with tea, lemonade, or punch that matches the colors of you event. Gorgeous!


Other adorable serving ideas with mason jars:

Vintage Tea Party Birthday Ideas
from Hostess with the Mostest

Custom Listing for Lisa
from MinSvenskaLandgard.

chalkboard mason jars
from Emmaline Bride

from Savoir Faire

Photo22
from RubyJu