Monday, November 12, 2012

Grown-up Homemade Pizza


Homemade pizza with pesto, bruschetta, pepper goat cheese, gruyere, pyrenees onetik cheese, mixed chopped olives, and sliced herb rolled salami. Beat that domino's!

King soopers (Kroger) has packaged premade pizza dough in the deli section. Look at the clearance gourmet cheeses to see if you want to try one on your pizza. Add some olives and bruschetta from the olive bar. Yum!


50 Easy Pizzas from Food Network

Pizza Recipes: Three Cheese Pancetta Mushroom Grilled Zuchinni Chorizo Goat Cheese Watercress
Best Pizza Recipes from Epicurious

Top (unusual) Pizza Recipes from A Farmer in the Dell

Monday, October 15, 2012

Kids Halloween Craft: Cheesecloth ghosts

Materials needed: paper towel tube, foil, pencils, masking tape, cheese cloth, liquid starch. Directions: Build a base for your ghost as seen in the pic. The paper towel tube will add height, the foil is to shape the ghost's head, and the pencils can be shoved into the paper towel tube to make arm shapes. The masking tape can be used to hold the ghost structure to your work surface. I think its best to use a baking sheet that has a lip on it as your working surface... much easier clean up. When your ghost structure is ready, dip strips of cheese cloth in the liquid starch, wring it out a bit, and drape it over your ghost structure. Repeat the dipping and draping process until you like your ghost form. The less layers of cheese cloth, the more transparent the ghost, but also more fragile. Let your ghost fully dry, then remove your structure.
These ghosts were made by my nanny kids Pinky and Jimmy last year. This is what they look like after a year of storage. We lost an eye, but when I offered to re-attach it Pinky declared that she would rather-have-a-spooky-one-eyed-ghost-thank-you-very-much. Fun craft to do with the kids because their hands get super gooey in the liquid starch. A less messy way to do this project is to place all of the cheese cloth on your structure dry, and when you're finished use a spray-on fabric stiffener. Also fun to place an electronic tealight inside the ghost. A real tealight would be a crazy fire hazard so please don't do that :)

Monday, October 1, 2012

Halloween Paper Lanterns

Halloween Decorations! I have to confess, this year I started putting up Halloween decorations on Sept 21. My poor hubby was not very happy. Apparently I should wait for October before cracking open the Halloween box. About 2-4 weeks after every holiday, I pick up holiday supplies/ decorations at 90% off from Hobby Lobby, Michael's, Target, Walmart, or Hallmark. We all re-use holiday decorations anyway, and you can get a ton more for your money if you shop post-holiday and save the decorations for next year. This results in a very excited crafter when a year has gone by and you open a box to a bunch of already paid for new toys!

17026-VP Command™ ClipsThese paper lanterns can be purchased at Michael's. I used black and silver glitter glue to make jack-o-lantern, ghost, and bat designs. I use Command Damage Free Hanging Mini Clips to safely attach the lanterns to the ceiling. Comes in a pack of 40, so I will keep them packed away with the Halloween stuff to be used for quite a few years.

I also did this craft last year with my afternoon nanny family. Jimmy and Pinky each decorated their own monster lanterns. Messy and fun. We used a Halloween glitter glue set which included green, purple, black, and orange.

Monday, September 17, 2012

Homemade Halloween Wreath

Plain Black wreath purchased last year after Halloween at Michael's at 90% off. So many simple all black crafting supplies end up on the clearance rack after Halloween. It's a great chance to pick up stuff for next year or decorate it with blue and silver for New Years decorations. Hobby Lobby sells black plain wreath hangers with their Christmas stuff each year.
This wreath was decorated with Halloween rings and an orange floral sequin spray that I had taken apart. Look for a spray held together with floral tape. When you unwrap the tape each spray of color should come apart so you can use it through-out the wreath.

Great Craft to do with kids. Set out a bunch of craft supplies and let them design their own wreath. Pinky and Jimmy (ages 5 and 7 at the time) did this 2 years ago to make Christmas wreaths to hang on their bedroom door. I picked out a spray in each of their favorite colors to add to the craft supplies.

Monday, September 3, 2012

Frog Tummy Time Mat- Baby Shower Gift

Here's me newest tummy time mat. I made this one for a friend's baby shower. I loved this blanket/mat so much, I decided to start an etsy shop with other mats. I'll never make any real money doing it, but I'll get to craft without feeling guilty about spending money constantly.

My new Etsy shop:
http://www.etsy.com/shop/FisherReed

The mats are made of soft flannel which keeps the mat in place on the floor when baby is learning to push up. Many baby blankets are too slippery to use as a tummy time mat and will gather by baby's face as he pushes and pulls his arms. Fabrics are bright with high contrast patterns that attract baby's attention from birth onward. The upper-right corner of the blankets have 4 ribbon loops sewn in. This can act alone like a Taggies blanket, or can be used with plastic baby links to attach toys. The bottom-left corner of the blanket has a pocket for baby book, pacifier, or burp rag storage.

To make this mat I bought 1 yard of dark green fabric, 1 yard of frog fabric, 1/2 yard of light green fabric, 1/2 yard of orange fabric. At the end I still had more than enough fabric to make matching peepee teepees


Monday, August 20, 2012

Parmesan Crusted Salmon

I am a very un-adventurous eater, but I'm trying to remedy the situation by being an adventurous chef. Even though I am pretty anti-seafood, I loved this salmon.


1/2 cup Parmesan cheese
1 cup Italian seasoned bread crumbs
1 teaspoon dried tarragon
1 teaspoon dill weed
1 cup white wine
1/4 cup soy sauce
1 tablespoon melted butter
1/4 cup chopped red onion
1 tablespoon minced garlic
2 pounds salmon fillets

1. In a shallow bowl mix Parmesan cheese, Italian seasoned bread crumbs, tarragon and dill.

2. In a medium saucepan over medium heat, blend white wine, soy sauce, butter, red onion and garlic. Cook and stir until onions are tender.

3. Press one side of each salmon fillet (the side without scales apparently) into the Parmesan cheese mixture. Place fillets crust side up in saucepan with white wine mixture. Cook over medium high heat until most of the liquid is reduced, 10 to 15 minutes, then flip with a spatula. Continue cooking until crust is golden brown and fish is easily flaked with a fork.

The fish was amazing with a dill/ mustard dip. I dumped some mayo, dijon mustard, dill weed, lemon juice, salt, and pepper into a bowl and mixed it up. Voila!

Monday, August 6, 2012

Formal Baby Boy Onesies


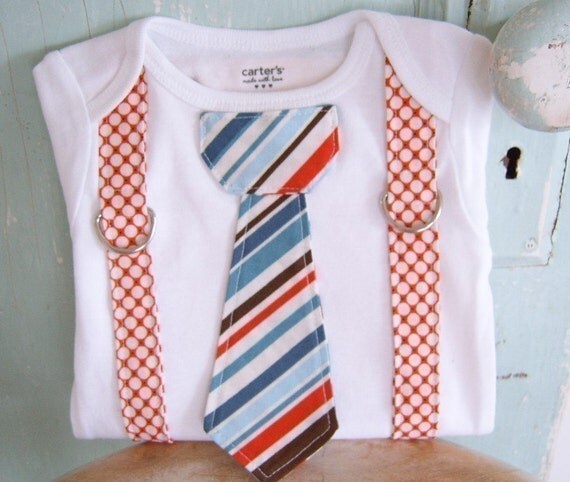
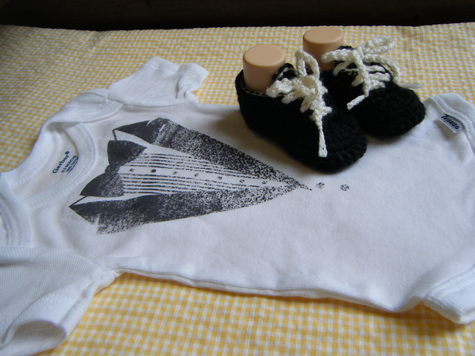
Here are the onsies I made for Fisher to wear to my brother's wedding. The wedding colors were blue and lavender. I made one long sleeve and one short sleeve so we'd be prepared for any weather, or have a backup if Fisher pooped through one right away. This turned out to be so much better than buying a real formal outfit. The layers of a dress shirt, tie, vest, and/or jacket are so hot and bulky on a 3 month old. I used satin scraps for the ties, and made the vest out of a hubby shirt that was destined for goodwill. Good reminder: Do not attach your tie all the way down. Let it hang loose at the bottom so it does not get tucked into baby's pants.


Some other great formal onesies and tutorials:

from: Decorating the Dorchester Way


DIY pdf Sewing Pattern - Suspender Tie Onesie
from: Winter Peach

Dscf2005_large
from: Burda Style

Letters 20
from: Lemon Tree Creations

Monday, July 23, 2012

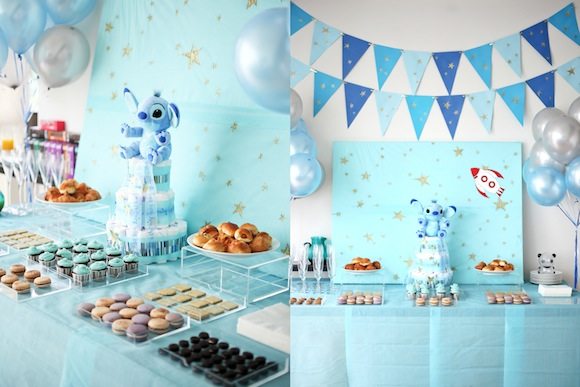
Space - Rocket ship Baby Shower


I adore pennant banners, don't you? With the chosen colors of paper, I used my cricut to cut everything out. I didn't pay much attention to what order of stuff I was cutting in what color because I wanted it to look random; using multiple types of fonts on the letters helped. I used red, green, and silver glitter glue to accent the triangles before attaching the letters. I used brads to attached the pennants together. This allowed them to be folded up without damage, to be sent home with the mother-to-be.

Standard diaper cake. Instructions here. I used bamboo skewers to attach the sides and top of the spaceship as well as the amigurumi aliens I crocheted. The sides were cut out of foam posterboard (left over from the homemade felt board) then covered in foil. The cake is sitting on a drink canister stand. I covered the art on the wall with blue wrapping paper so it wouldn't distract from the cake.

Adorable handmade pinwheels, instructions here, used at our sign in spot, stuck in sand. I love them so much I will be making them as Christmas tags for gifts this year. Great way to use up some scrap paper. At the sign-in spot we had pics of the mother-to-be on the digital frame. Just load up a USB and stick it in.

Instead of giving away a prize for each baby shower game, we gave away clothes pins for winning games. The lady with the most clothes pins at the end gets the prize. This was so smart, but not my idea :) It allowed us to get one big prize (gift card) that someone will actually use instead of giving out a bunch of little prizes that will end up at goodwill or in the trash. We also had favors for each guest.

Star shaped sugar cookies and chocolate cupcakes topped with extremely fattening yet delicious buttercream icing, recipe here. Add a couple drops of lemon juice to your sugar before you boil it to help fight crystallization.

Instead of a guest book we had people sign a onsie. We printed the rocketship image that we used on the invitation onto iron-on transfer paper. Note to self: this paper is for inkjet printers, and kinko's does NOT have inkjet printers. Laser printers will melt the paper.


Other cool space parties:
outer-space-themed-baby-shower
from: The Sweetest Occasion

Space Invaders Baby Shower from: On To Baby

real-baby-shower-AmyStone-Rockets-Rocket-Space
Rockets Baby Shower from: Bump Smitten

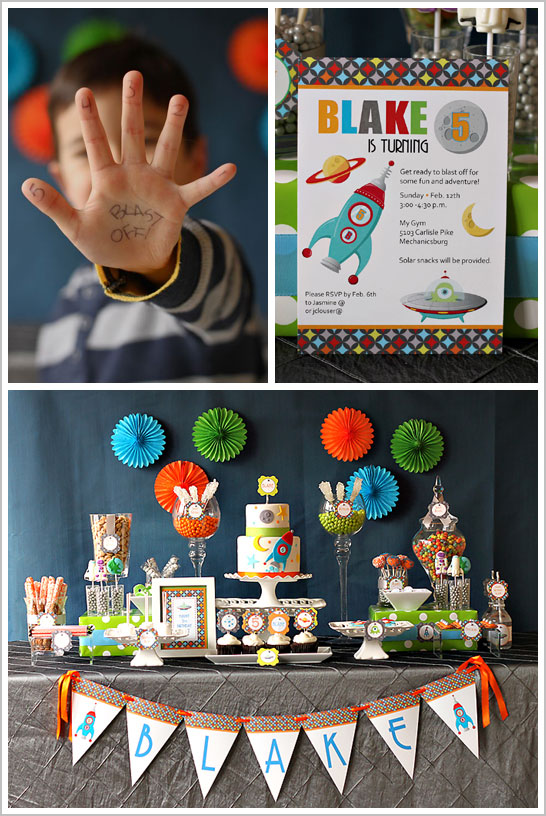
Outer Space Birthday Party
Outer Space Birthday from: Half Baked

Outer Space Party from: Le Petit

Monday, July 9, 2012

Cheese Stuffed Mushrooms


12 whole fresh mushrooms
1 (8 ounce) package cream cheese, softened
1/4 cup grated Parmesan cheese
1/4 teaspoon garlic powder
1/4 teaspoon ground black pepper
1/4 teaspoon onion powder
1/4 teaspoon ground cayenne pepper

1.Preheat oven to 350 degrees F. Spray a baking sheet with cooking spray. Clean mushrooms with a damp paper towel. Carefully break off stems.

2. Stir cream cheese, Parmesan cheese, black pepper, garlic powder, onion powder and cayenne pepper. Mixture should be very thick. Place mixture in a Ziploc bag, and cut a small hole in one corner of the bag. Use the bag like a pastry bag to fill each mushroom cap with a generous amount of stuffing. Arrange the mushroom caps on prepared cookie sheet.

3.Bake for 20 minutes in the preheated oven, or until the mushrooms are piping hot and liquid starts to form under caps.
I ended up with enough filling to fill at least another 1/2 package of mushrooms. Also, Hubby loved the spice of the cayenne, but next time I'll try a little less... it was a bit overpowering.

Monday, June 25, 2012

Great Gift: Origami Baby Mobile

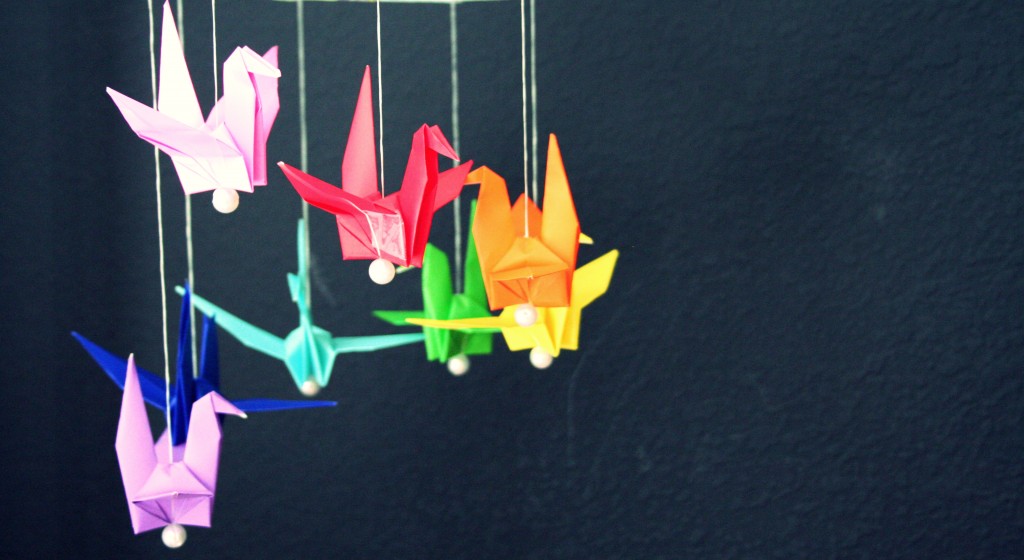
For the first time I'm showing something I was given, rather than something I made. This origami mobile was a gift I received at my baby shower. My friend knew I had a gray and yellow bird theme and created this beautiful mobile. It is currently Fisher's favorite thing to stare and coo at.


Some great tutorials of other origami mobiles:


from: The Domestic Domicile

Origami Baby Mobile 2
from: B-Inspired Mama

from: Mad Pimp

from: PinkBird's Nest
from: PetitPoulou


Not origami, but so cool anyway!
from: Miss Make

from: Moth and Sparrow
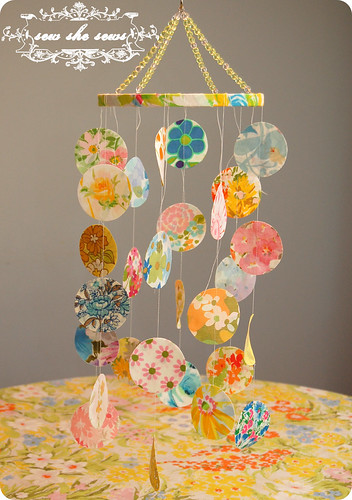
from: Sew She Sews
DSC_0020
from: Naptime Novels

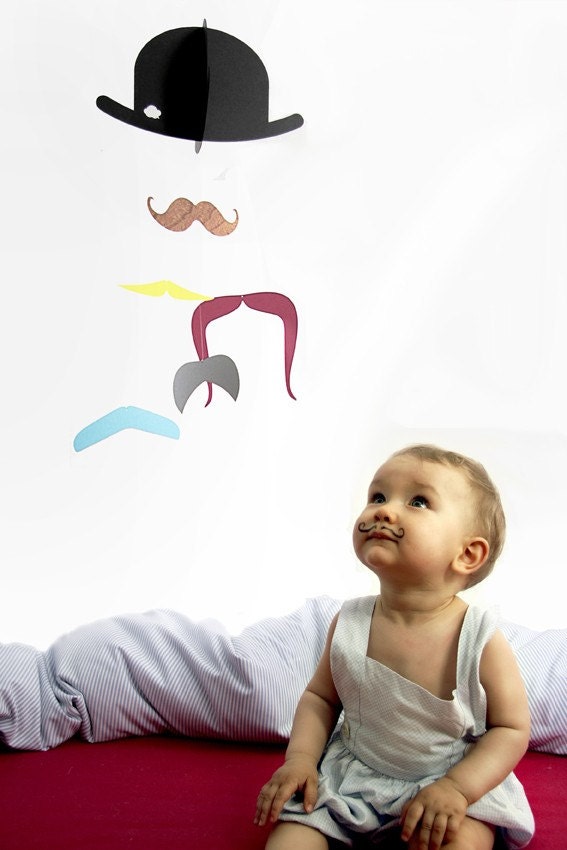
Mr. Moustache baby mobile
from: jaellundtofta 

Monday, June 11, 2012

Tummy Time Mat Tutorials

Here's the tummy time mat I made for Fisher. I love the mix of fabrics and using ribbon in the middle of the mat. The ribbon acts like Taggies, but is also a place for you to attach baby toys with plastic links. I suppose you could sew baby toys onto the mat, but if you use links, you could detach the toys when it comes time to wash the mat.


Here are some awesome tutorials:

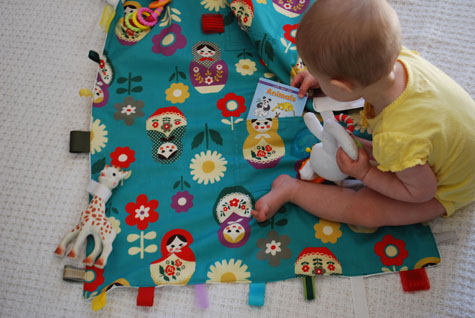
Merriment :: Kid's Travel Toy Blanket with Velcro Loops and Ribbon  Tags free DIY tutorial and pattern template craft project for Merriment  Design by Kathy Beymer at MerrimentDesign.com
from: Merriment Design

from: make it and love it

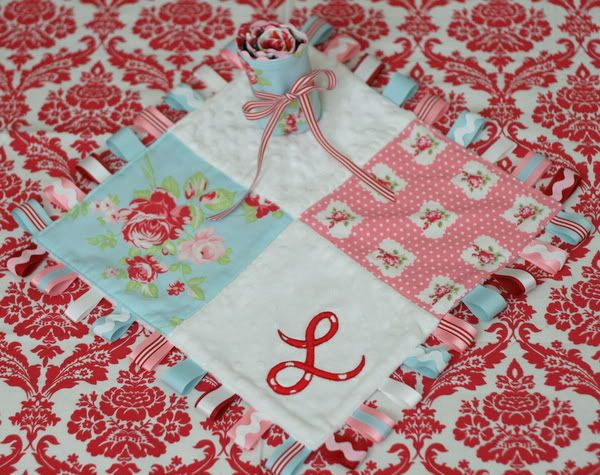
Baby Blanket
from: today's top 20

from: Clothesline

from: Permanent Kisses


Next time I'd love to try a scalloped edge. This tutorial makes it look so easy!
from: Zaaberry