Monday, June 25, 2012

Great Gift: Origami Baby Mobile

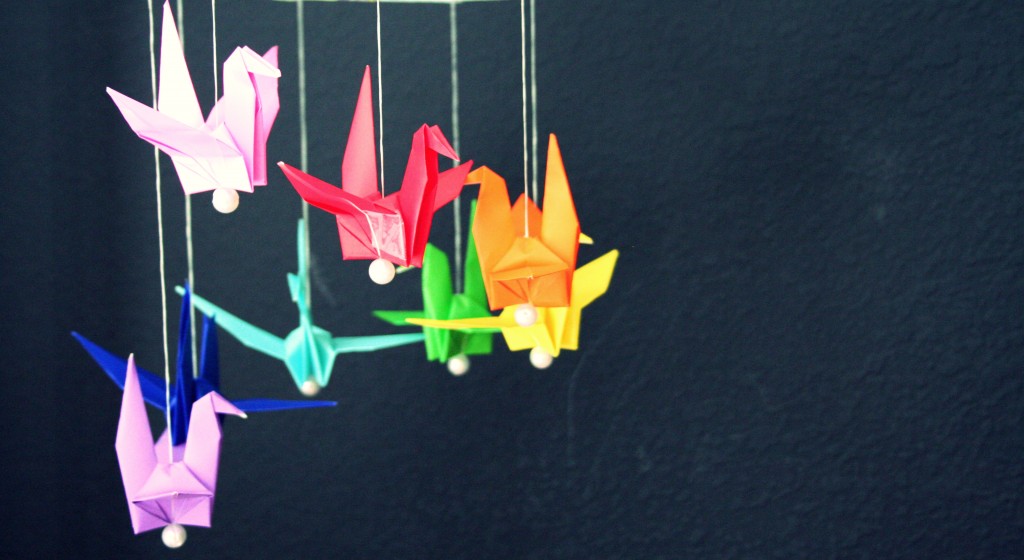
For the first time I'm showing something I was given, rather than something I made. This origami mobile was a gift I received at my baby shower. My friend knew I had a gray and yellow bird theme and created this beautiful mobile. It is currently Fisher's favorite thing to stare and coo at.


Some great tutorials of other origami mobiles:


from: The Domestic Domicile

Origami Baby Mobile 2
from: B-Inspired Mama

from: Mad Pimp

from: PinkBird's Nest
from: PetitPoulou


Not origami, but so cool anyway!

from: Miss Make

from: Moth and Sparrow
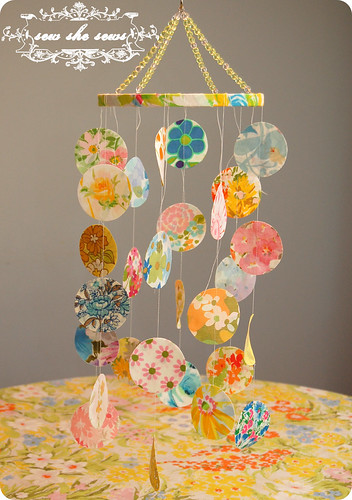
from: Sew She Sews
DSC_0020
from: Naptime Novels

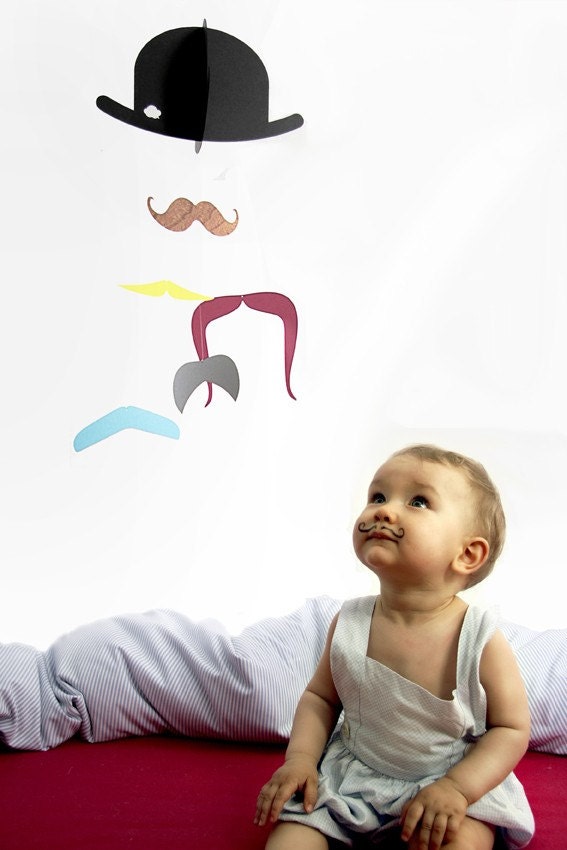
Mr. Moustache baby mobile
from: jaellundtofta 

Monday, June 11, 2012

Tummy Time Mat Tutorials

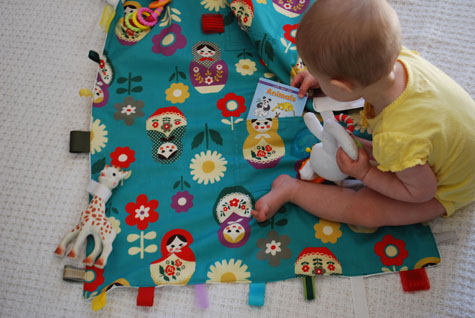
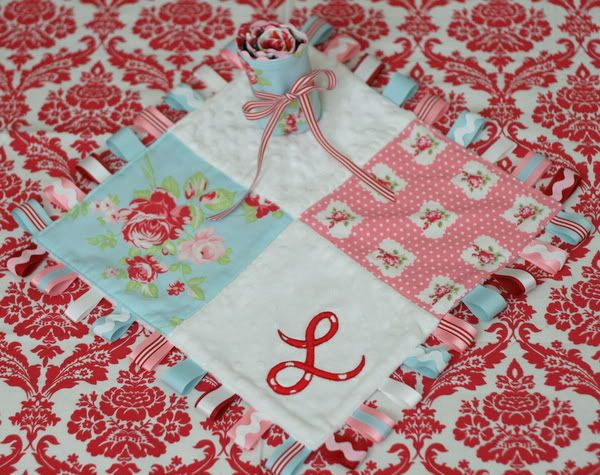
Here's the tummy time mat I made for Fisher. I love the mix of fabrics and using ribbon in the middle of the mat. The ribbon acts like Taggies, but is also a place for you to attach baby toys with plastic links. I suppose you could sew baby toys onto the mat, but if you use links, you could detach the toys when it comes time to wash the mat.


Here are some awesome tutorials:

Merriment :: Kid's Travel Toy Blanket with Velcro Loops and Ribbon  Tags free DIY tutorial and pattern template craft project for Merriment  Design by Kathy Beymer at MerrimentDesign.com
from: Merriment Design

from: make it and love it

Baby Blanket
from: today's top 20

from: Clothesline

from: Permanent Kisses


Next time I'd love to try a scalloped edge. This tutorial makes it look so easy!
from: Zaaberry


Monday, May 28, 2012

Pee-Pee Tee-Pee Tutorials


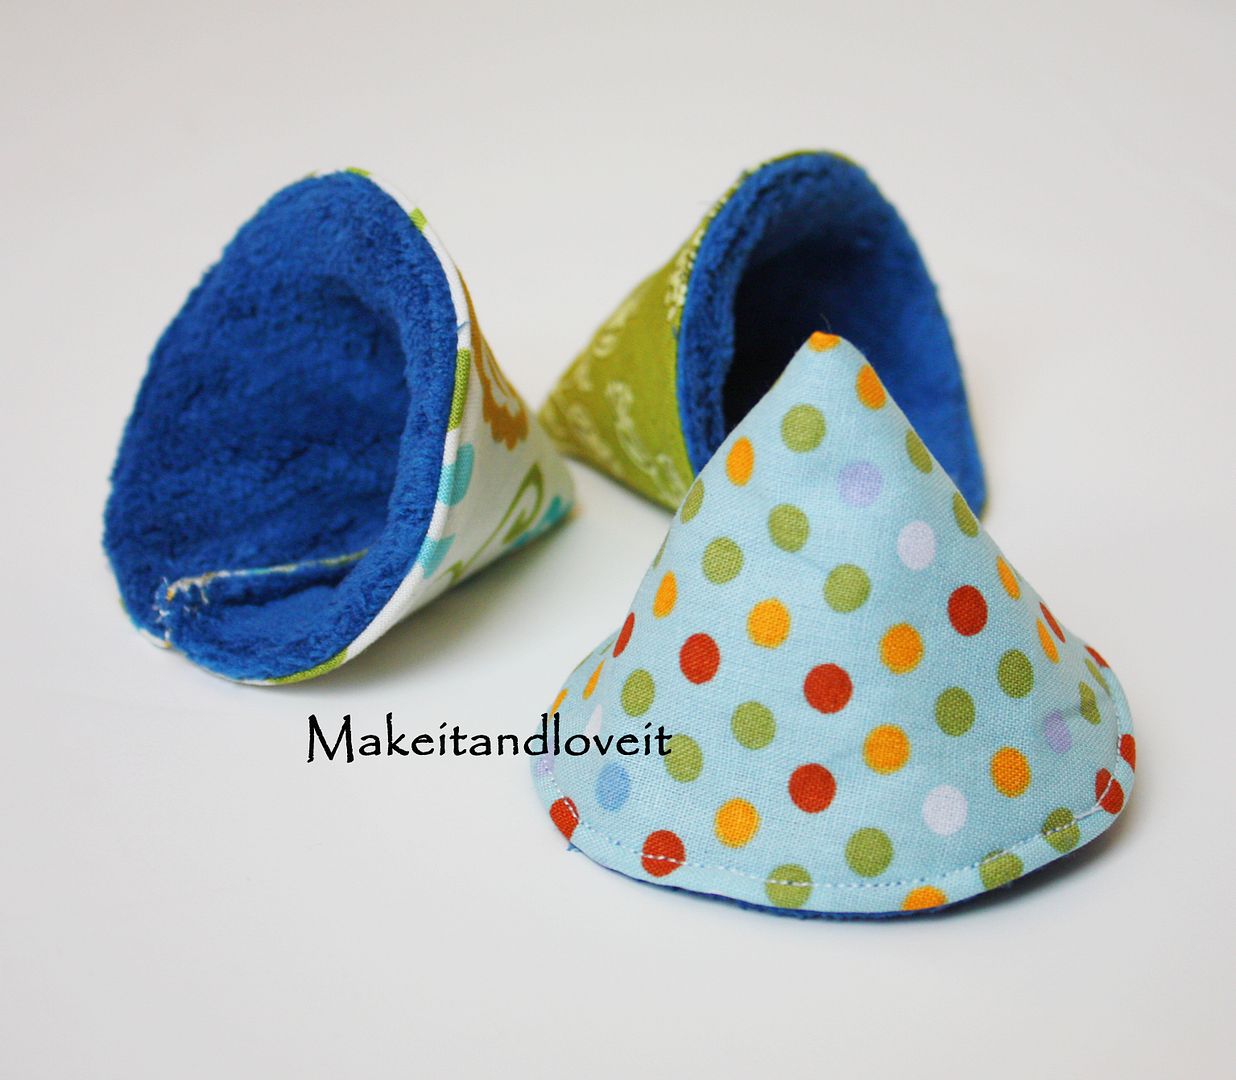
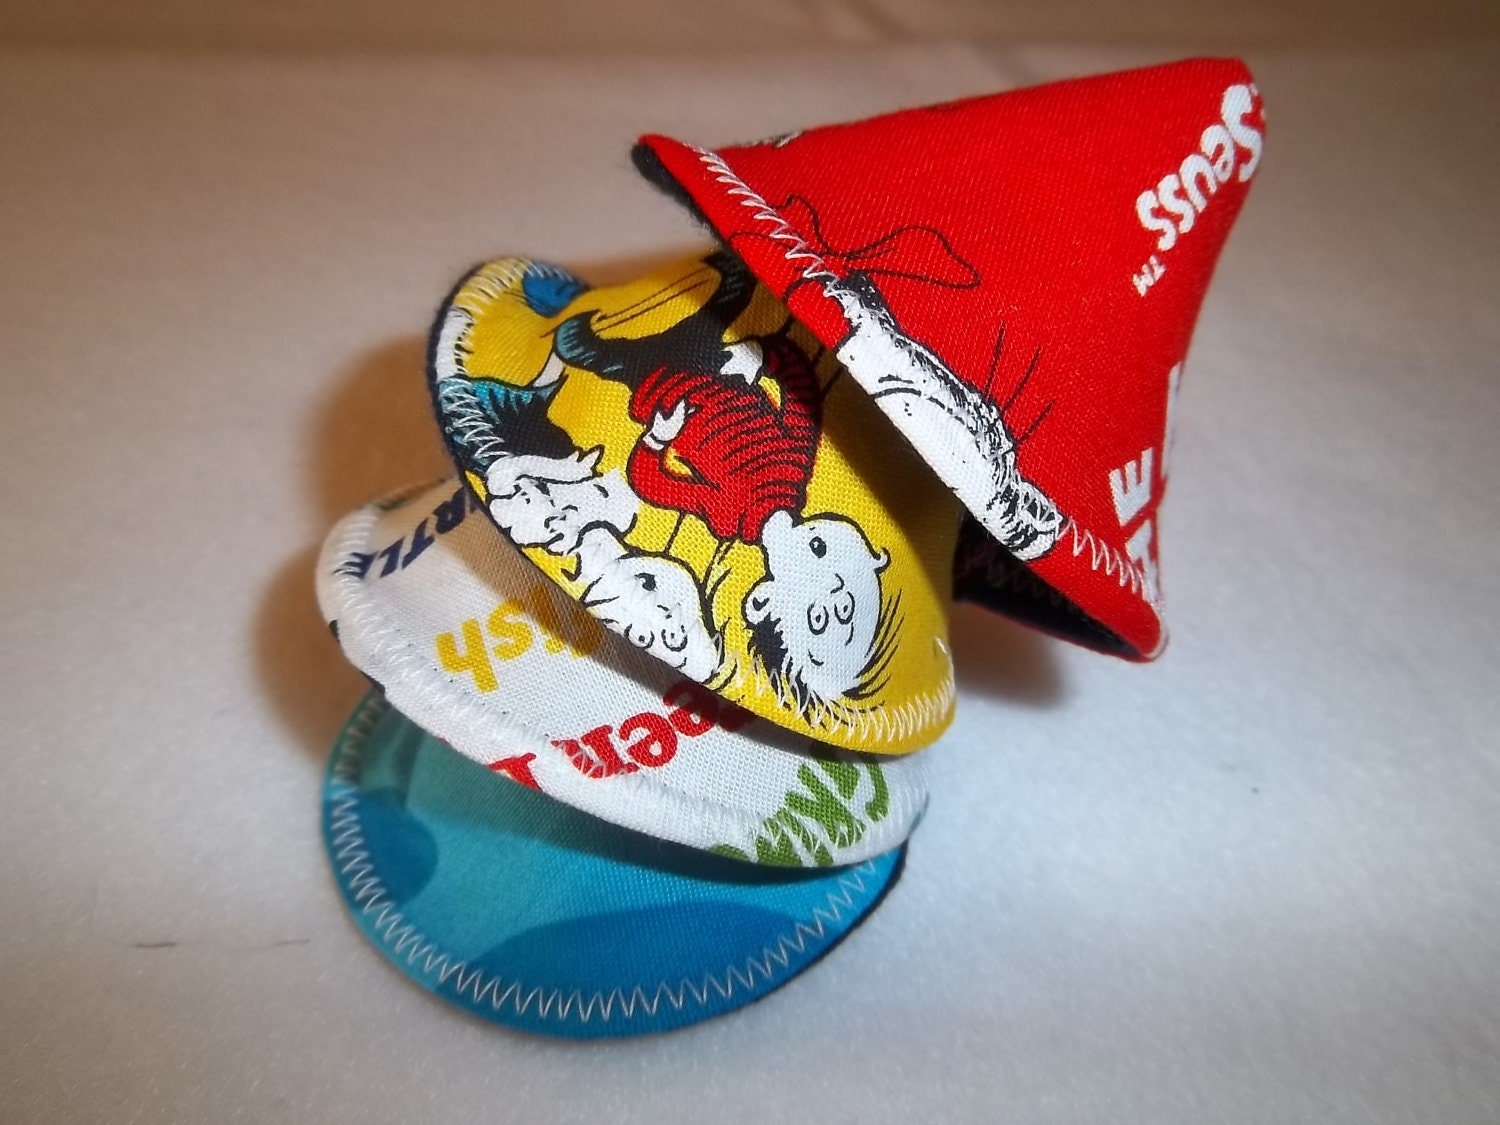
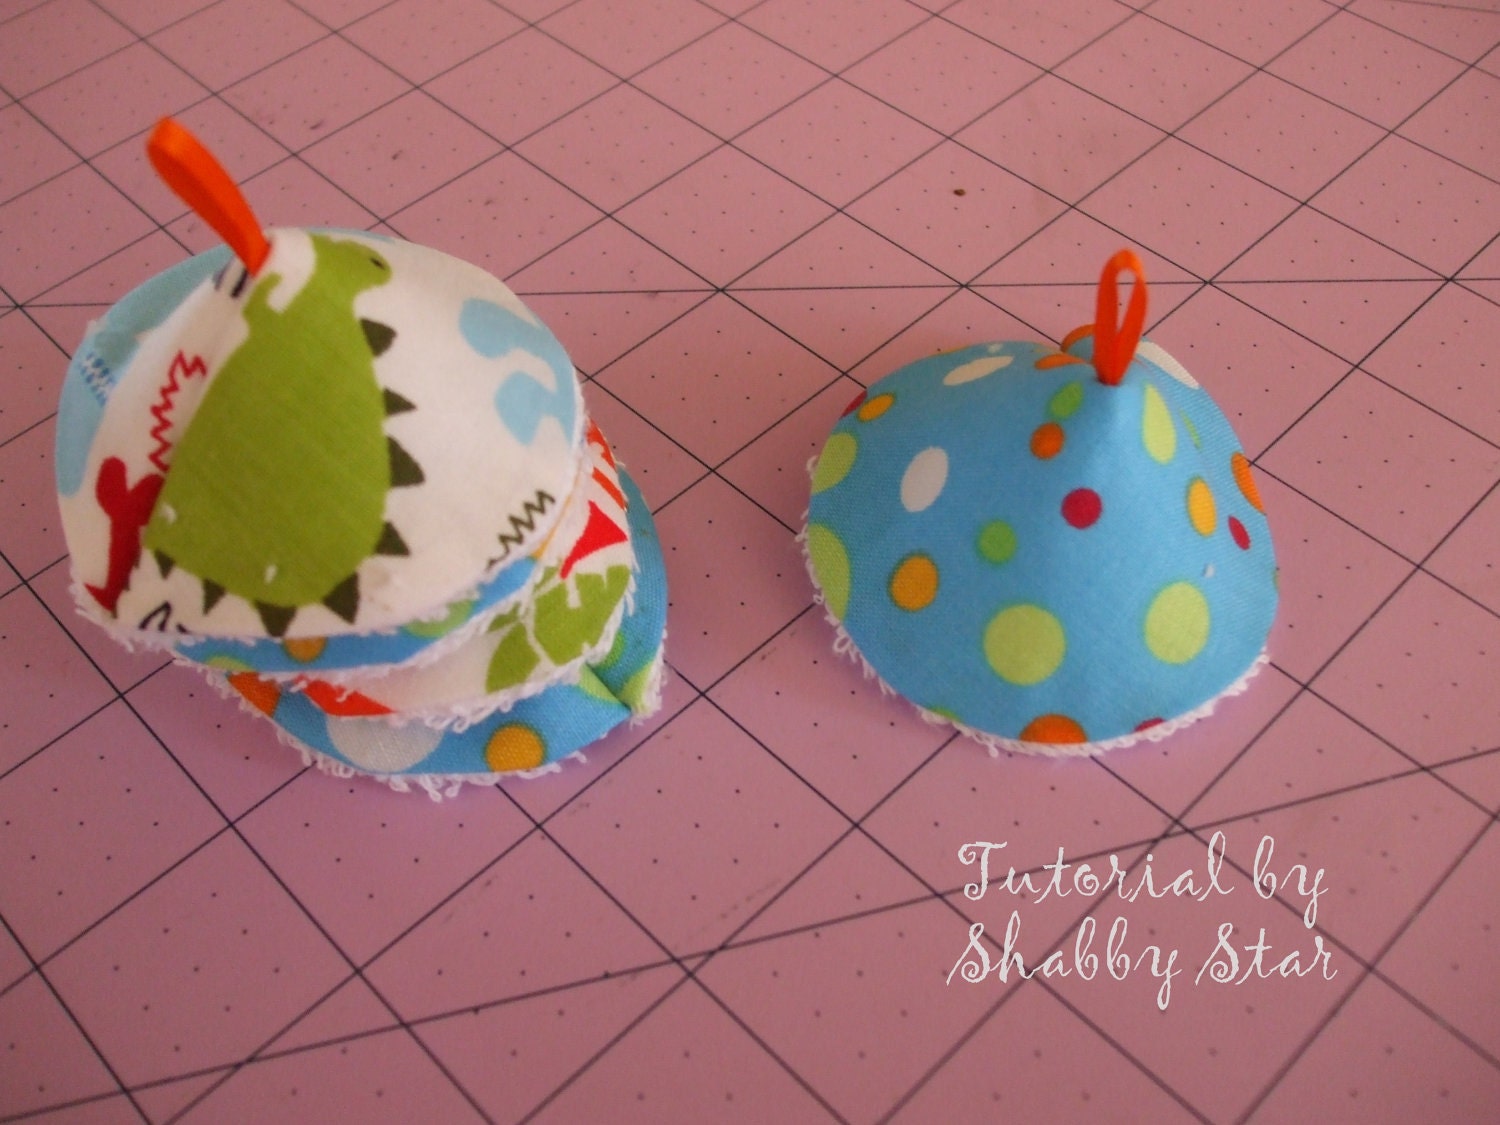
For the first 2 weeks after bringing my son home from the hospital, there was an inescapable rain storm just about every-time we changed his diaper. Fisher, Daddy, Mommy, the dogs, the walls, the neighbor three houses down... nothing seemed to be out of the "splash zone". I finally learned to place a baby hat over Fisher's little fire hose whenever I'd change him. Definitely solved the problem, but now Fisher was constantly hat-less. A friend told me about Pee pee Teepees and my problems were solved :) . Handmade Pee-pee Tee-pees will now be included in every baby boy shower I go to. They're so clever, adorable, and unknown to anyone who's new to changing a baby boy. I made these for a baby shower last week and included some handmade cloth diaper burp cloths to match.


Free Pee-Pee Tee-Pee tutorials:

from: The Crunchy Mamacita


from: Makeitandloveit

Pee-Pee Tee-Pee tutorials on Etsy:

from: Beffie48

from: Shabby Star

Monday, May 14, 2012

Crib Skirt Tutorials

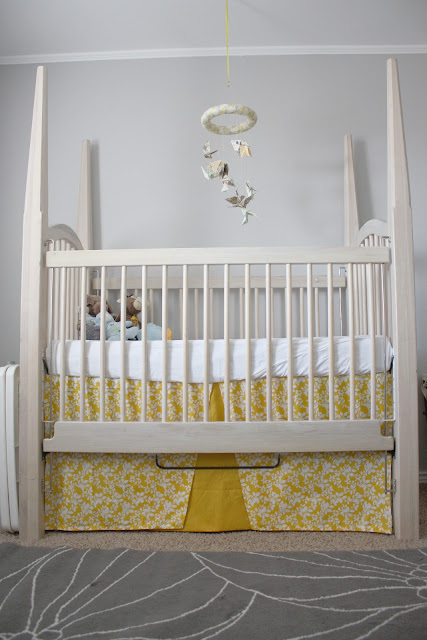
While the crib bumper is becoming more and more controversial due to an increased risk of SIDS, the crib skirt can be beautiful and useful. The nursery is usually one of the smallest rooms in the house, so every bit of storage space is needed. Using a crib skirt is a great way to create hidden storage under the crib. Here's the crib skirt I put together for Fisher's gray and yellow nursery.


Tutorials Available Here:

from: PositivelySplendid

from: Teal and Lime

Crib-bedding
from: Sew Dang Cute Crafts

Modern Floral Crib Bedding | Baby Girl Crib Bedding in Bold Modern Floral | Carousel Designs 500x500 image
from: Carousel Designs

Monday, April 30, 2012

DIY Wrapping Paper Wine Box

Had a friend’s birthday this week and wanted to give her my new favorite sweet wine, Camelot. But of course, everything is better in pretty packaging so I decided to make a wine box. It’s pretty much just a paper mache project. Hobby Lobby sells wonderful cardboard unfinished wine boxes. I found adorable craft wrapping paper at Borders.


Supplies Needed:
Cardboard unfinished wine box
Choice paper (scrapbook paper or wrapping paper)
Mod Podge OR School Glue & Water mixed
Sponge brush
Water
Scissors
Paint (Optional)

Directions:
Remove the lid from your wine box. Remove the handle from the wine box. Measure and cut enough paper to go around your wine box. If using scrapbook paper, you may need to have multiple pieces that you will overlap. Your paper should be a couple of inches taller than your wine box. Attach your paper to you wine box using the Mod Podge leaving an inch hanging higher than the wine box and an inch hanging lower than the wine box. Attach your paper all of the way around the box with Mod Podge under the paper and over the paper. Your paper will probably bunch up and wrinkle. As the paper soaks in more glue mixture, you will be able to make it lie flat by running your fingers over it. Be patient, it will get there and will be worth it. As you flatten your wet paper around the wine box, tuck the hanging over paper into the box to make a good edge. Do the same with the paper hanging over the bottom. Once your box is completely smooth, allow it to dry. Mine only took about 15min. Use a pen to poke holes where the handle goes and reattach your handle. For the lid, there are a couple of choices. You could repeat the above process on your lid to make it match your bottom. You could repeat the above process using a different paper for contrast. You could paint the top (I would use acrylic paint) in a color that compliments or contrasts your chosen paper. In the example shown I left the top exactly as it came because I love the craft paper look with my craft paper wrapping paper. Voila!


Here's another use for wine boxes, that I'd love to try:

from: All The Luck In The World

Monday, April 16, 2012

Soft Handmade Baby Blocks


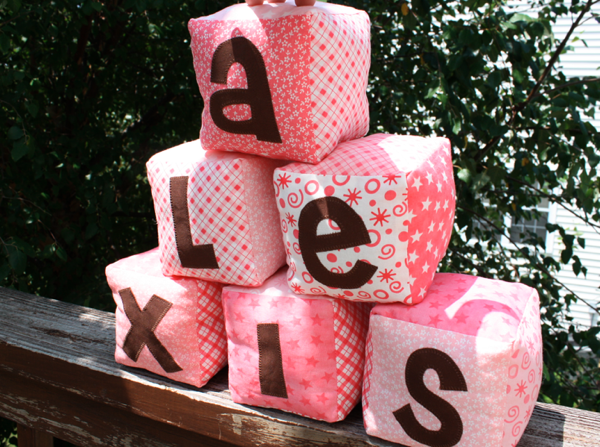
One more baby shower to go to = one more chance to play with the sewing machine. I am really loving the pink and teal color combination. Too bad those colors aren't appropriate for my son. I think my husband would kill me. Or at least take away sewing privileges :)  For this project I put the blocks together first, then made a drawstring bag to hold them. Its a good thing I waited to make the bag. I would have ended up with a huge bag and not enough blocks. The blocks weren't especially difficult, but more time consuming than I would have guessed.


Some tutorials:

Soft Fabric Building Blocks - 2
from: cherry menlove

from: Sew Like My Mom
from: Smile and Wave

from: Zaaberry

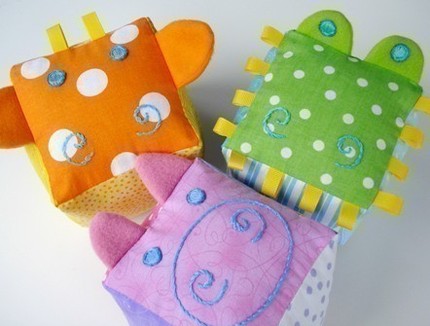
This link is for purchasing a pattern, not a tutorial. By following one of the tutorials above, it'd be pretty simple to make them like these animals.

Animal Soft Blocks E-pattern
from: Sew Baby

Monday, April 9, 2012

Simple Amigurumi Crochet Owl


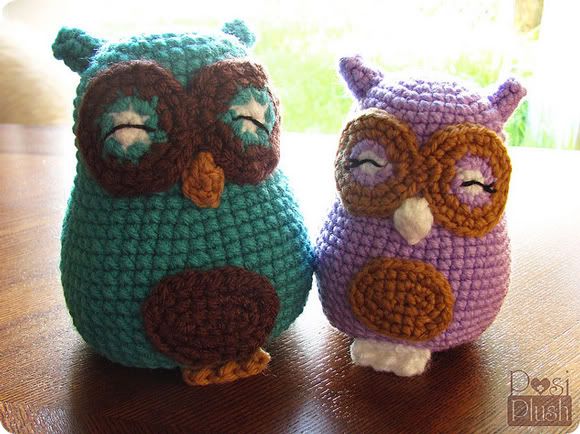
When first finding out I was pregnant I decided 2 things about the nursery. It would be grey and yellow, and it would have bird accents. I'm not much for themes but I like to mix and match stuff within my style. I immediatly knew I wanted to keep the nursery gender neutral so we could use the same nursery for our second child (whenever or if-ever God decides to bless us with another one). Fisher will move into the slightly bigger bedroom, now an office, when he gets older. By then he'll be sure to have more of an opinion about the theme and colors of his room. The first thing I made for my unborn child was this little owl. I loosly followed a free pattern, listed below, but continued using increase stitches until it was the size I wanted. The tiny owl in the pattern was adorable, but a little too small for a baby to safely play with. My experiece with crochet is very limited, (I've only made 2 other amigurumi, and one hat) so this should be a good project for any beginner.


Here's the free pattern I used for my owl:
Day 3: Amigurumi owl.
from: littlegreen

Other free patterns:

from: sukigirl

Free Amigurumi Owl Pattern
from: Curls of Sunshine


from Roxycraft


More adorable owls:

from: PosiTori

from: Cute Designs

from: The Unique Boutique For Me

from: GiggleStuff