Monday, July 23, 2012

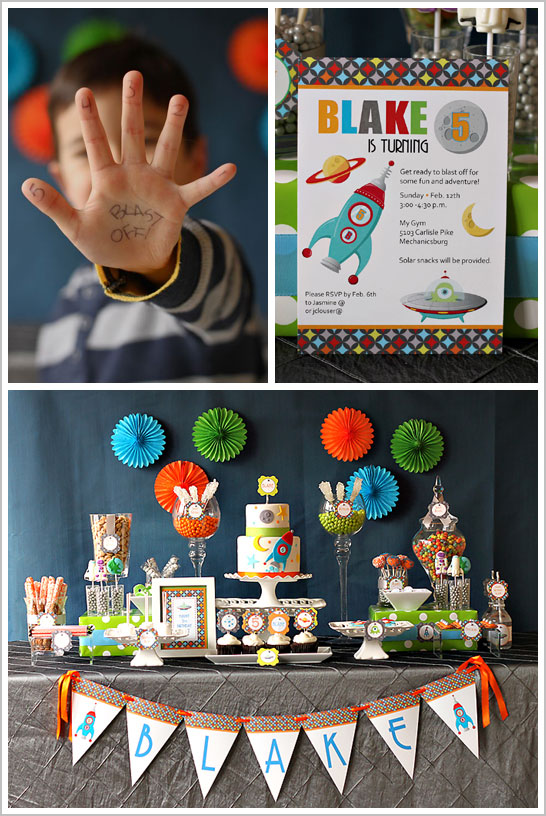
Space - Rocket ship Baby Shower


I adore pennant banners, don't you? With the chosen colors of paper, I used my cricut to cut everything out. I didn't pay much attention to what order of stuff I was cutting in what color because I wanted it to look random; using multiple types of fonts on the letters helped. I used red, green, and silver glitter glue to accent the triangles before attaching the letters. I used brads to attached the pennants together. This allowed them to be folded up without damage, to be sent home with the mother-to-be.

Standard diaper cake. Instructions here. I used bamboo skewers to attach the sides and top of the spaceship as well as the amigurumi aliens I crocheted. The sides were cut out of foam posterboard (left over from the homemade felt board) then covered in foil. The cake is sitting on a drink canister stand. I covered the art on the wall with blue wrapping paper so it wouldn't distract from the cake.

Adorable handmade pinwheels, instructions here, used at our sign in spot, stuck in sand. I love them so much I will be making them as Christmas tags for gifts this year. Great way to use up some scrap paper. At the sign-in spot we had pics of the mother-to-be on the digital frame. Just load up a USB and stick it in.

Instead of giving away a prize for each baby shower game, we gave away clothes pins for winning games. The lady with the most clothes pins at the end gets the prize. This was so smart, but not my idea :) It allowed us to get one big prize (gift card) that someone will actually use instead of giving out a bunch of little prizes that will end up at goodwill or in the trash. We also had favors for each guest.

Star shaped sugar cookies and chocolate cupcakes topped with extremely fattening yet delicious buttercream icing, recipe here. Add a couple drops of lemon juice to your sugar before you boil it to help fight crystallization.

Instead of a guest book we had people sign a onsie. We printed the rocketship image that we used on the invitation onto iron-on transfer paper. Note to self: this paper is for inkjet printers, and kinko's does NOT have inkjet printers. Laser printers will melt the paper.


Other cool space parties:
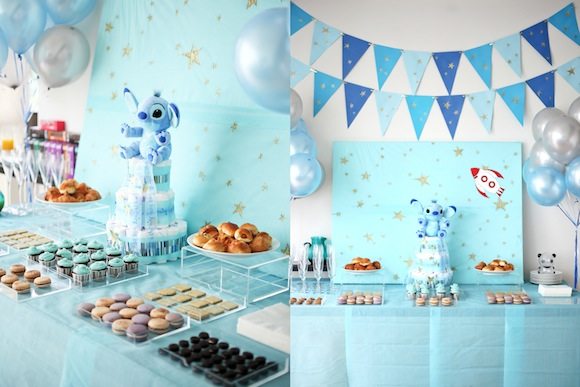
outer-space-themed-baby-shower
from: The Sweetest Occasion

Space Invaders Baby Shower from: On To Baby

real-baby-shower-AmyStone-Rockets-Rocket-Space
Rockets Baby Shower from: Bump Smitten

Outer Space Birthday Party
Outer Space Birthday from: Half Baked

Outer Space Party from: Le Petit

Monday, July 9, 2012

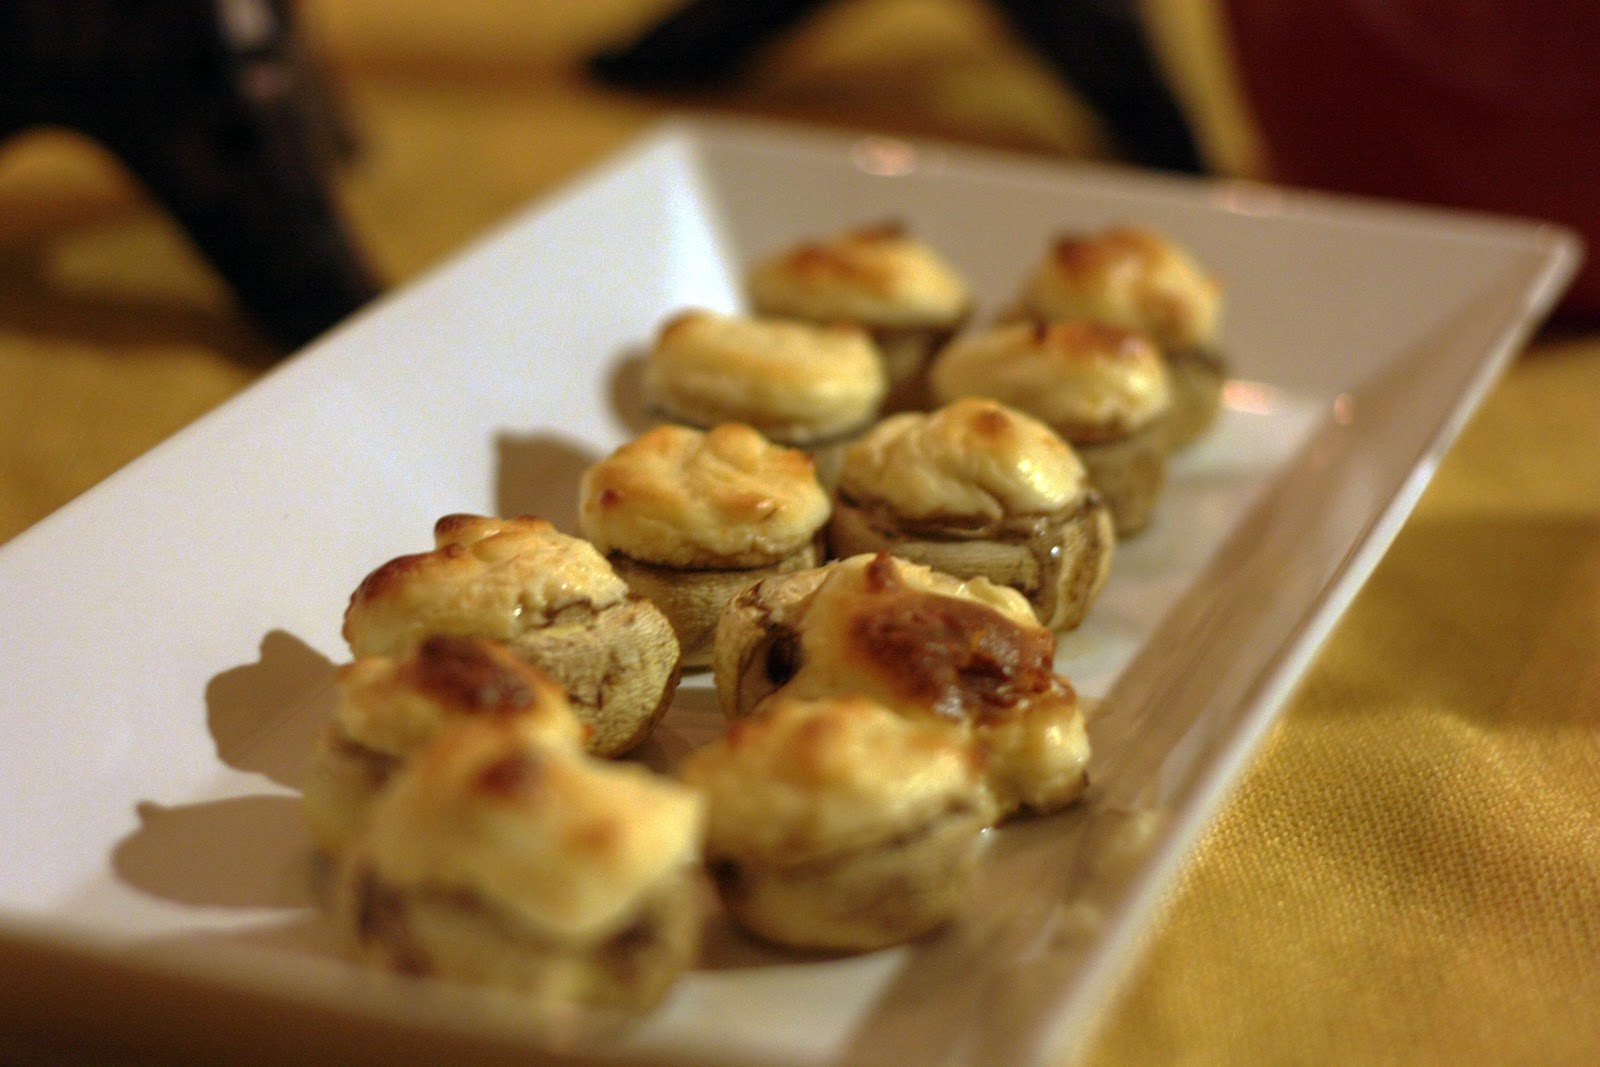
Cheese Stuffed Mushrooms


12 whole fresh mushrooms
1 (8 ounce) package cream cheese, softened
1/4 cup grated Parmesan cheese
1/4 teaspoon garlic powder
1/4 teaspoon ground black pepper
1/4 teaspoon onion powder
1/4 teaspoon ground cayenne pepper

1.Preheat oven to 350 degrees F. Spray a baking sheet with cooking spray. Clean mushrooms with a damp paper towel. Carefully break off stems.

2. Stir cream cheese, Parmesan cheese, black pepper, garlic powder, onion powder and cayenne pepper. Mixture should be very thick. Place mixture in a Ziploc bag, and cut a small hole in one corner of the bag. Use the bag like a pastry bag to fill each mushroom cap with a generous amount of stuffing. Arrange the mushroom caps on prepared cookie sheet.

3.Bake for 20 minutes in the preheated oven, or until the mushrooms are piping hot and liquid starts to form under caps.
I ended up with enough filling to fill at least another 1/2 package of mushrooms. Also, Hubby loved the spice of the cayenne, but next time I'll try a little less... it was a bit overpowering.

Monday, June 25, 2012

Great Gift: Origami Baby Mobile

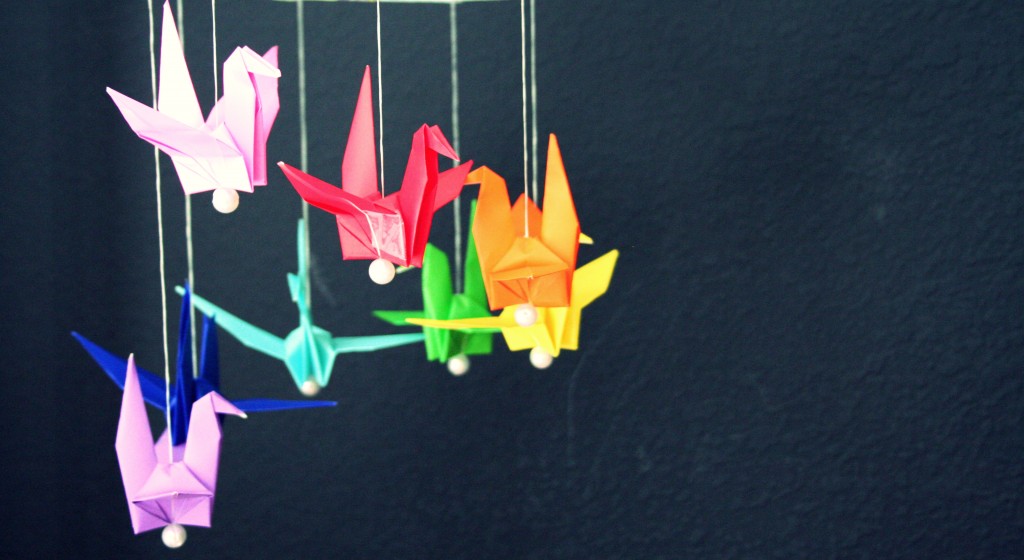
For the first time I'm showing something I was given, rather than something I made. This origami mobile was a gift I received at my baby shower. My friend knew I had a gray and yellow bird theme and created this beautiful mobile. It is currently Fisher's favorite thing to stare and coo at.


Some great tutorials of other origami mobiles:


from: The Domestic Domicile

Origami Baby Mobile 2
from: B-Inspired Mama

from: Mad Pimp

from: PinkBird's Nest
from: PetitPoulou


Not origami, but so cool anyway!

from: Miss Make

from: Moth and Sparrow
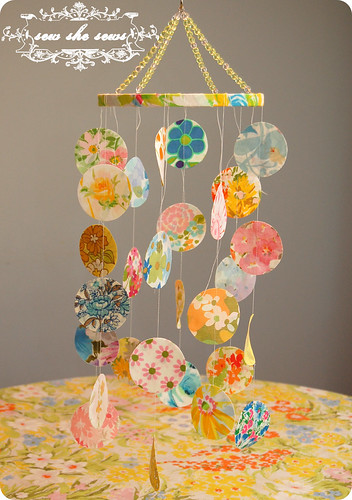
from: Sew She Sews
DSC_0020
from: Naptime Novels

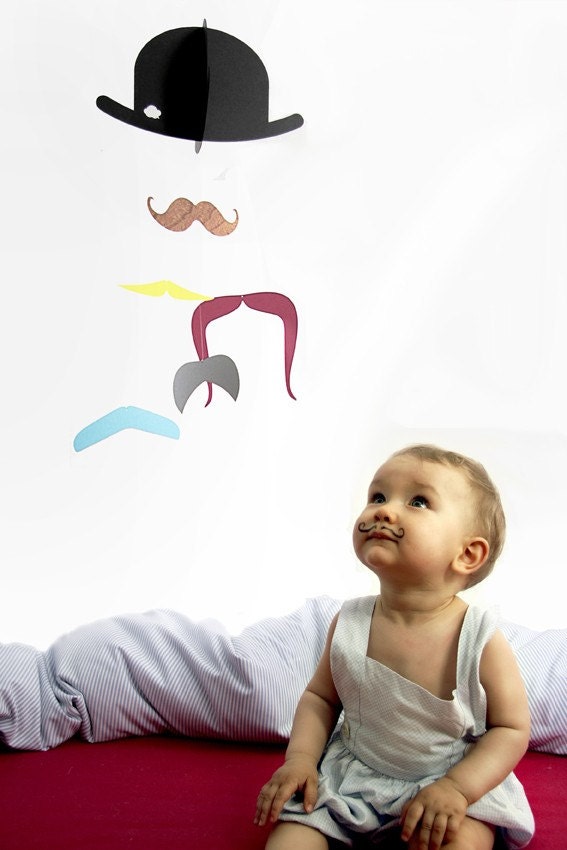
Mr. Moustache baby mobile
from: jaellundtofta 

Monday, June 11, 2012

Tummy Time Mat Tutorials

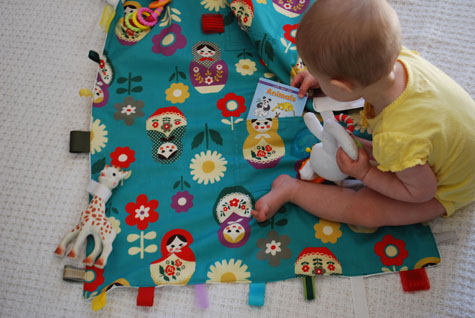
Here's the tummy time mat I made for Fisher. I love the mix of fabrics and using ribbon in the middle of the mat. The ribbon acts like Taggies, but is also a place for you to attach baby toys with plastic links. I suppose you could sew baby toys onto the mat, but if you use links, you could detach the toys when it comes time to wash the mat.


Here are some awesome tutorials:

Merriment :: Kid's Travel Toy Blanket with Velcro Loops and Ribbon  Tags free DIY tutorial and pattern template craft project for Merriment  Design by Kathy Beymer at MerrimentDesign.com
from: Merriment Design

from: make it and love it

Baby Blanket
from: today's top 20

from: Clothesline

from: Permanent Kisses


Next time I'd love to try a scalloped edge. This tutorial makes it look so easy!
from: Zaaberry


Monday, May 28, 2012

Pee-Pee Tee-Pee Tutorials


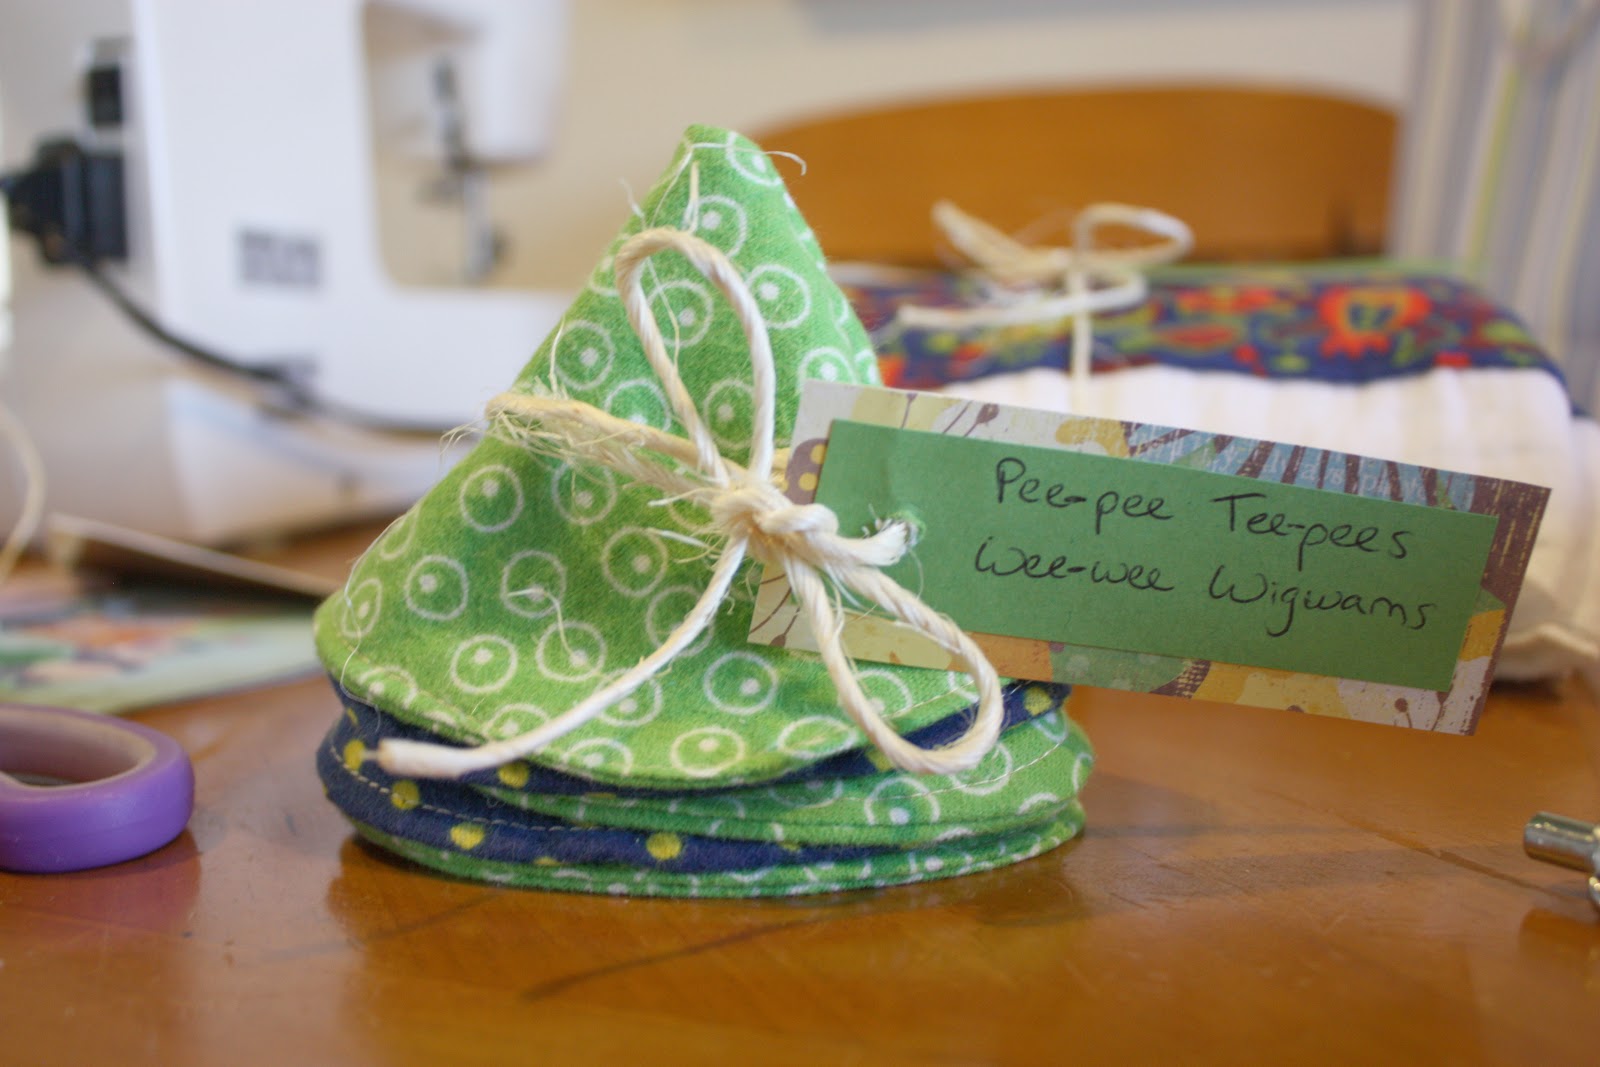
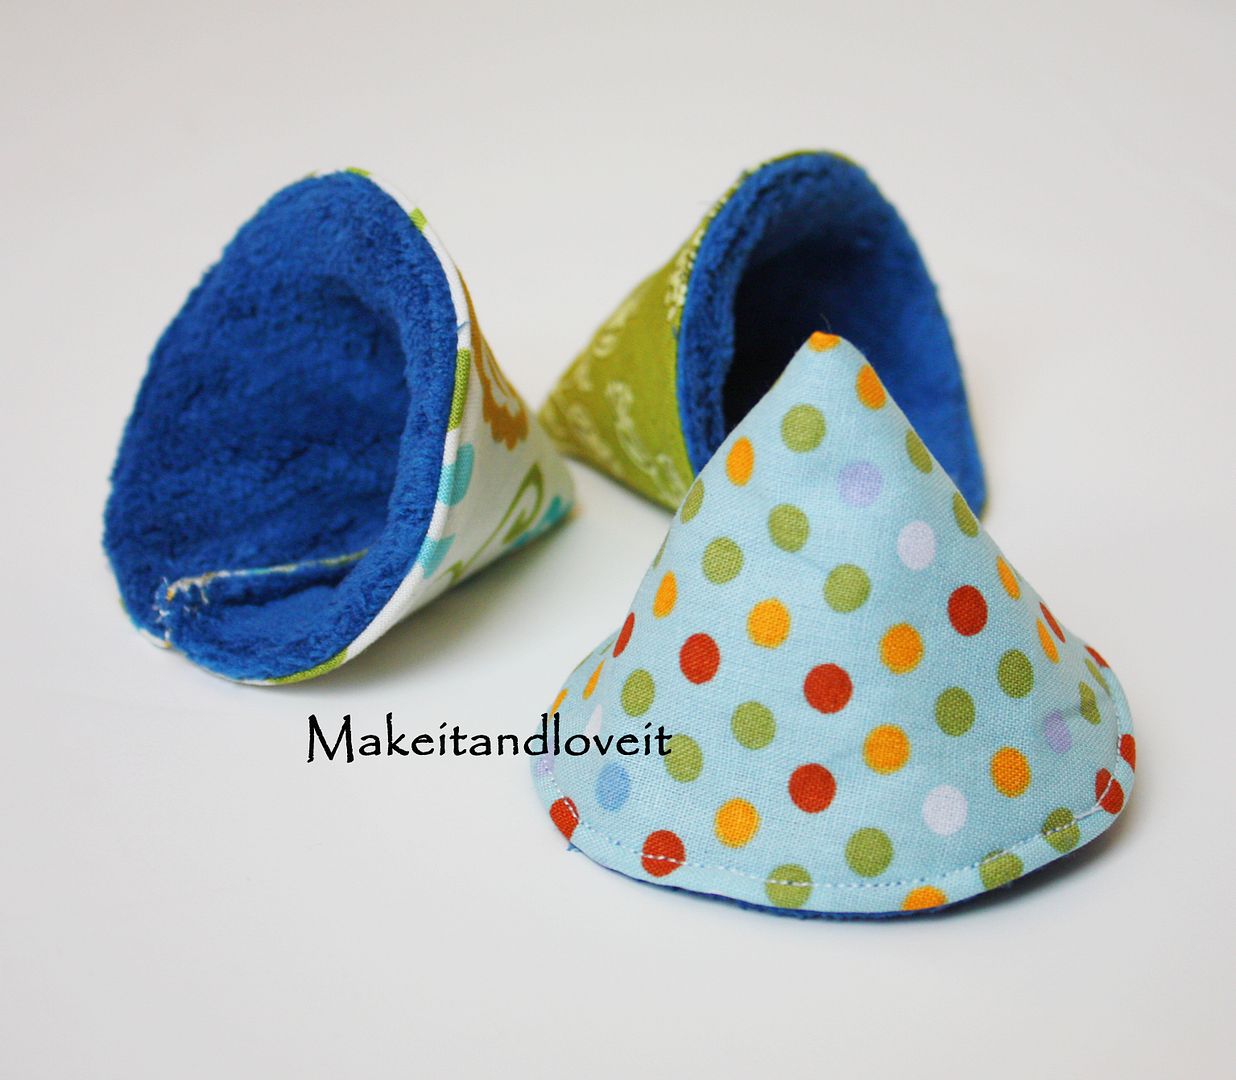
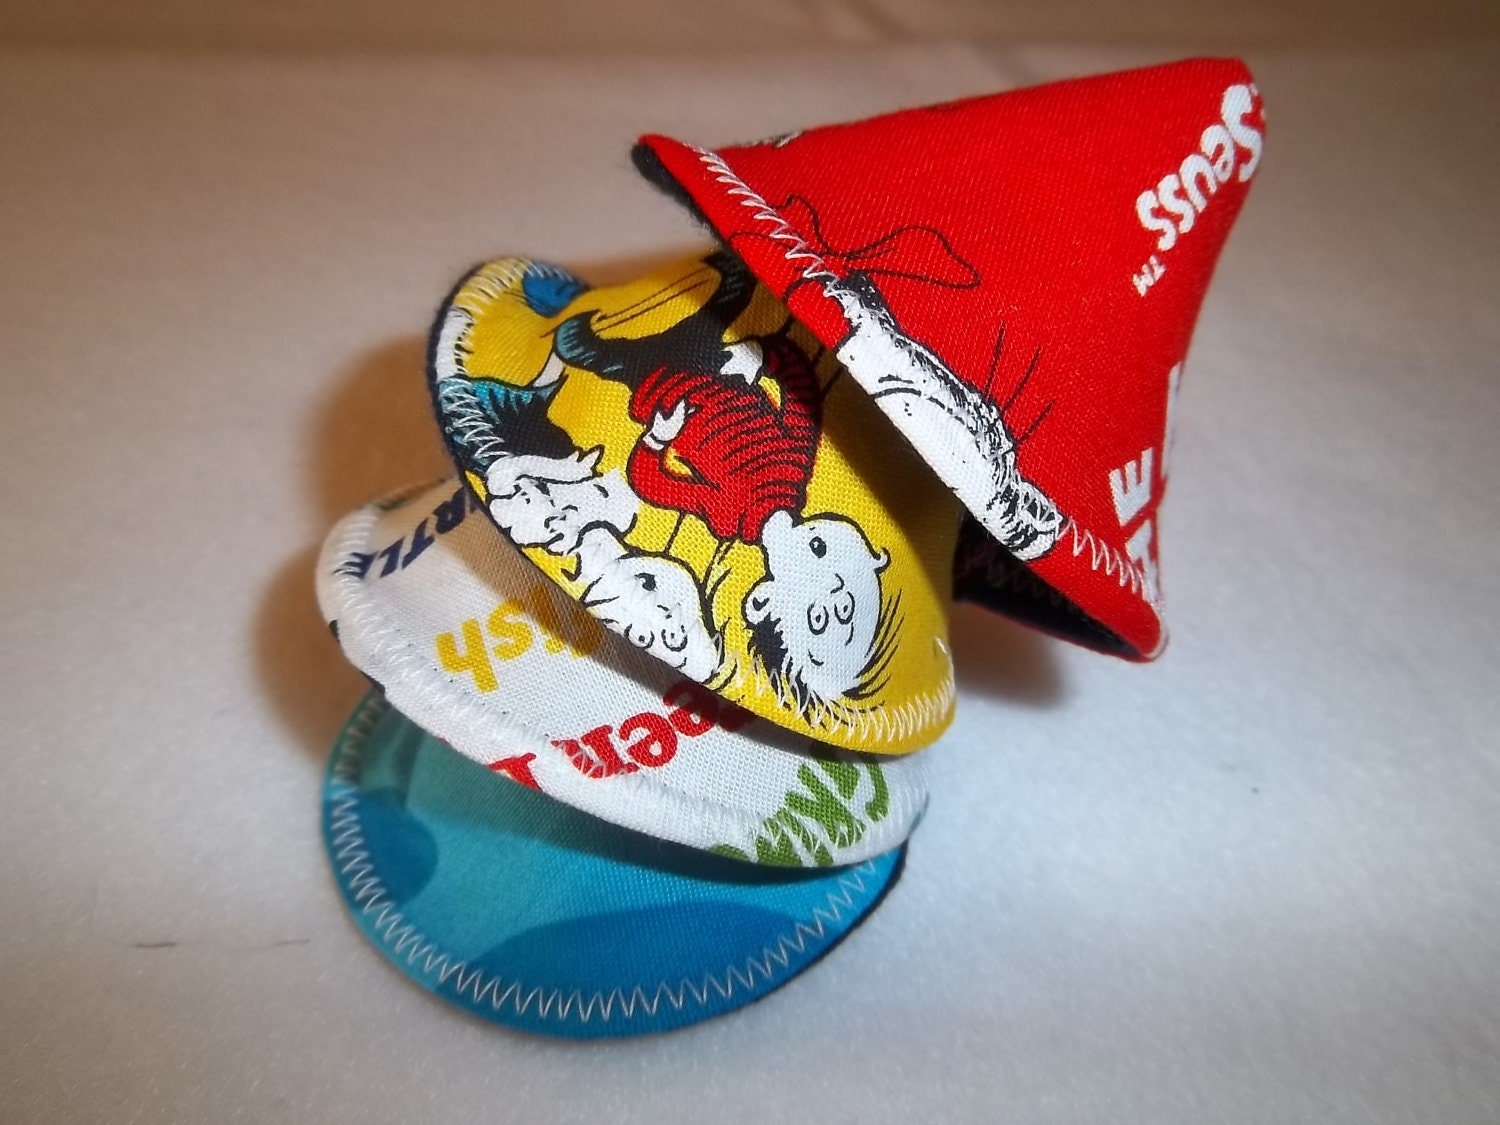
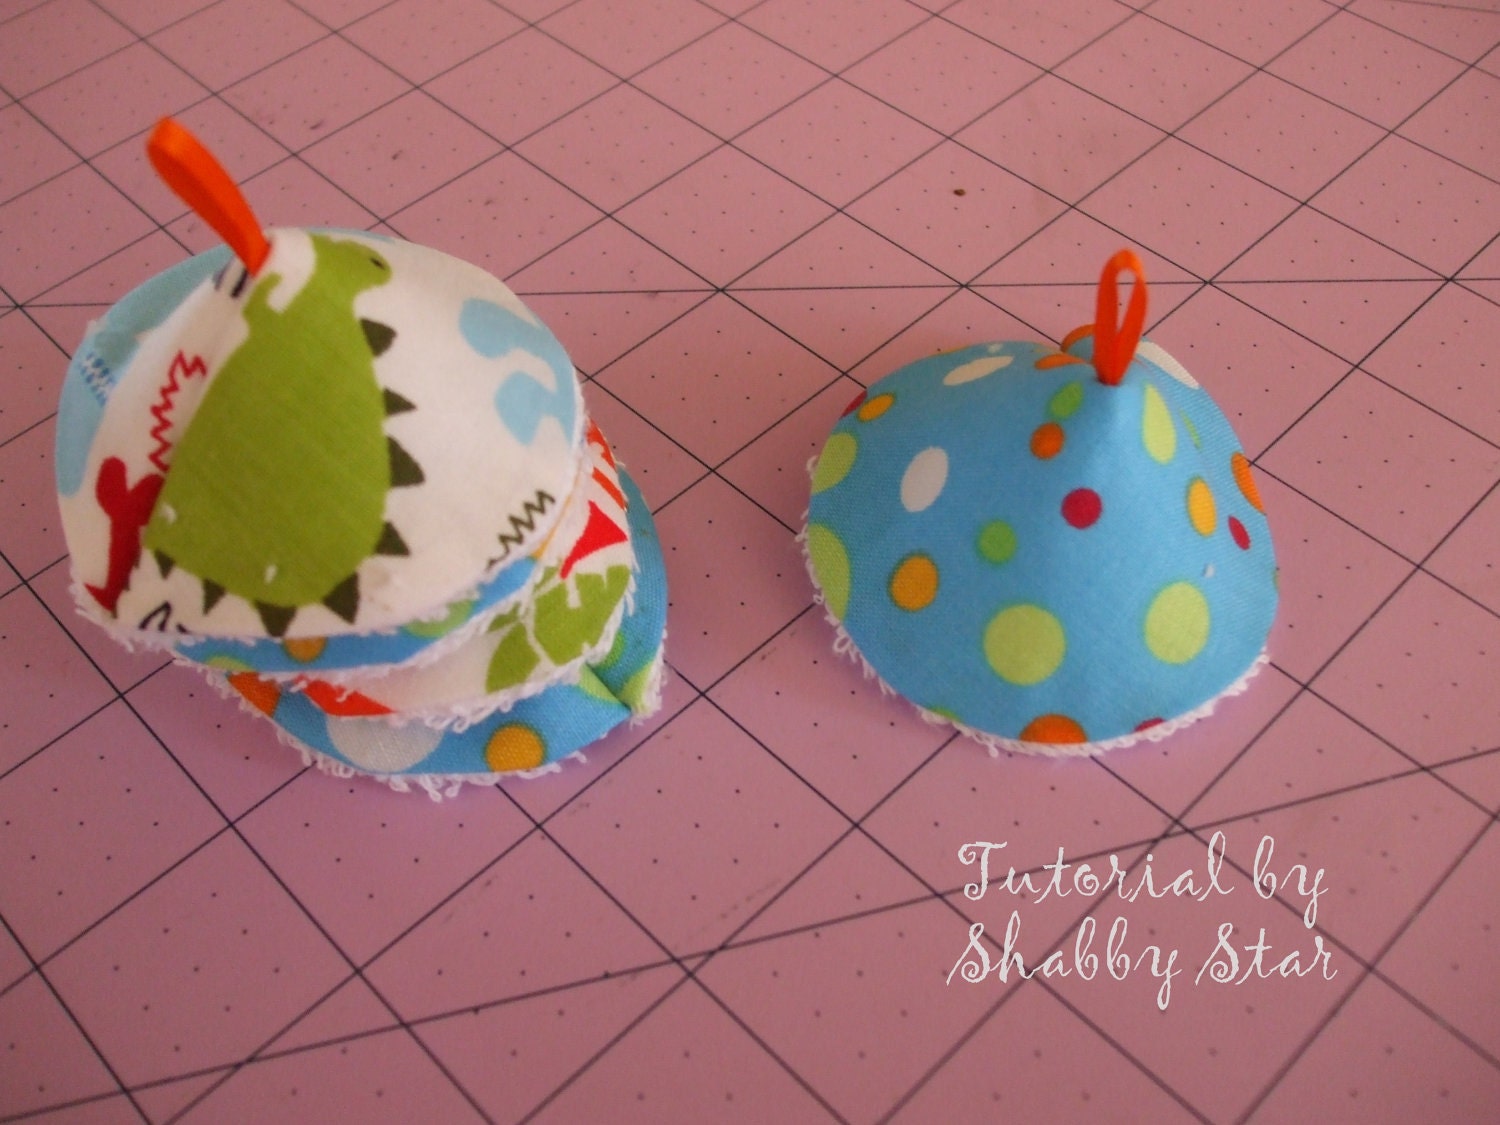
For the first 2 weeks after bringing my son home from the hospital, there was an inescapable rain storm just about every-time we changed his diaper. Fisher, Daddy, Mommy, the dogs, the walls, the neighbor three houses down... nothing seemed to be out of the "splash zone". I finally learned to place a baby hat over Fisher's little fire hose whenever I'd change him. Definitely solved the problem, but now Fisher was constantly hat-less. A friend told me about Pee pee Teepees and my problems were solved :) . Handmade Pee-pee Tee-pees will now be included in every baby boy shower I go to. They're so clever, adorable, and unknown to anyone who's new to changing a baby boy. I made these for a baby shower last week and included some handmade cloth diaper burp cloths to match.


Free Pee-Pee Tee-Pee tutorials:

from: The Crunchy Mamacita


from: Makeitandloveit

Pee-Pee Tee-Pee tutorials on Etsy:

from: Beffie48

from: Shabby Star

Monday, May 14, 2012

Crib Skirt Tutorials

While the crib bumper is becoming more and more controversial due to an increased risk of SIDS, the crib skirt can be beautiful and useful. The nursery is usually one of the smallest rooms in the house, so every bit of storage space is needed. Using a crib skirt is a great way to create hidden storage under the crib. Here's the crib skirt I put together for Fisher's gray and yellow nursery.


Tutorials Available Here:

from: PositivelySplendid

from: Teal and Lime

Crib-bedding
from: Sew Dang Cute Crafts

Modern Floral Crib Bedding | Baby Girl Crib Bedding in Bold Modern Floral | Carousel Designs 500x500 image
from: Carousel Designs

Monday, April 30, 2012

DIY Wrapping Paper Wine Box

Had a friend’s birthday this week and wanted to give her my new favorite sweet wine, Camelot. But of course, everything is better in pretty packaging so I decided to make a wine box. It’s pretty much just a paper mache project. Hobby Lobby sells wonderful cardboard unfinished wine boxes. I found adorable craft wrapping paper at Borders.


Supplies Needed:
Cardboard unfinished wine box
Choice paper (scrapbook paper or wrapping paper)
Mod Podge OR School Glue & Water mixed
Sponge brush
Water
Scissors
Paint (Optional)

Directions:
Remove the lid from your wine box. Remove the handle from the wine box. Measure and cut enough paper to go around your wine box. If using scrapbook paper, you may need to have multiple pieces that you will overlap. Your paper should be a couple of inches taller than your wine box. Attach your paper to you wine box using the Mod Podge leaving an inch hanging higher than the wine box and an inch hanging lower than the wine box. Attach your paper all of the way around the box with Mod Podge under the paper and over the paper. Your paper will probably bunch up and wrinkle. As the paper soaks in more glue mixture, you will be able to make it lie flat by running your fingers over it. Be patient, it will get there and will be worth it. As you flatten your wet paper around the wine box, tuck the hanging over paper into the box to make a good edge. Do the same with the paper hanging over the bottom. Once your box is completely smooth, allow it to dry. Mine only took about 15min. Use a pen to poke holes where the handle goes and reattach your handle. For the lid, there are a couple of choices. You could repeat the above process on your lid to make it match your bottom. You could repeat the above process using a different paper for contrast. You could paint the top (I would use acrylic paint) in a color that compliments or contrasts your chosen paper. In the example shown I left the top exactly as it came because I love the craft paper look with my craft paper wrapping paper. Voila!


Here's another use for wine boxes, that I'd love to try:

from: All The Luck In The World